Monday, March 20, 2023

March 2023 Card Layout #17

 March 2023 Card Layout #17
SU’s Like An Animal DSP

I had a hard time trying to come up with a card layout for SU’s Like An Animal DSP. I loved the designs in this DSP, so of course I had to  purchase it. Also, SU’s doesn’t have any silver foil that is current. So I used silver embossing powder for the sentiment. Another technique is to use SU’s blending brushes and ink with the DSP. An idea for a card later!!

The products needed to make this card can be found in my Online Store


Measurements:
  • 5 1/2” x 8 1/2” cardstock for the base (I used SU’s Basic Gray but Smoky Slate would work, too.
  • 3 3/4” x 5” cardstock for the second layer-same color as the base; scrap for sentiment
  • 3/4” strips of DSP; 2 1/2” x 6” DSP for envelope
Directions:
  • Score the base at 4 1/4” and fold on the score line.
  • Apply 3/4” strips to the second layer of cardstock starting with the first strip at the very top.
  • Adhere this layer using dimensionals to the card front.
  • Stamp sentiment with VersaMark and heat emboss with silver embossing powder. Die cut the sentiment. Carefully run the edges along the VersMark pad and heat emboss with silver embossing powder. Adhere to card front with dimensionals.
  • Adhere the DSP panel to the envelope flap and trim.
The products needed to make this card can be found in my Online Store
  • Like An Animal Specialty DSP 160841
  • Something Fancy Bundle 160425
  • Basic Gray cardstock 121044
  • Stampin’ Emboss Powders 155555
  • Rhinestone Basic Jewels 144220


Sunday, March 19, 2023

March 2023 Card Layout #16

 March 2023 Card Layout #16
SU’s Irresistible Blooms and Hello, Irresistible DSP

A simple card layout for this post. The first image shows a very simple card. The second image shows when more foliage is added. Which do you prefer?


The products needed to design this card can be found in my Online Store

Measurements: 
  • 5 1/2” x 8 1/2” cardstock for card base
  • 4” x 5 1/4” cardstock
  • 3 3/4” x 5” patterned paper; 2 1/2” x 6” patterned paper panel for envelope
  • Scrap of cardstock for sentiment
Directions:
  • Score the card base at 4 1/4” and fold on the score line.
  • Adhere cardstock panel (can be embossed) at an angle and trim.
  • Stamp sentiment on cardstock scrap and adhere to card front.
  • Adhere images, die cuts, or fussy cut images.
  • Add embellishments.
  • Adhere the patterned paper panel to the envelope flap and trim.
The products needed to design this card can be found in my Online Store

Products:
  • Irresistible Blooms Bundle 161150
  • Hello, Irresistible DSP 161139
  • Raindrops Embossing Folder 160554
  • Flirty Flamingo cardstock 141416
  • So Saffron cardstock 105118
  • Basic White cardstock 159276
  • 2021-2023 In Color Opal Rounds 159185

Saturday, March 18, 2023

March 2023 Card Layout #15

 March 2023 Card Layout #15
SU’s Irresistible Blooms Bundle and Hello, Irresistible DSP

Was lucky to have some Pretty Peacock cardstock and ink pad that was an incolor with SU about 4 years ago. One of my favorite colors!! Rumor says Pretty Peacock is coming back this spring with SU’s color refresh. Makes me happy. Pretty Peacock and Lost Lagoon are used in SU’s Hello, Irresistible DSP. Lost Lagoon is from 9 years ago! Pretty Peacock was used on this card. Pretty Peacock cardstock and ink pad will be available in the new SU Annual Catalog due to come to in May.

Products (except for Pretty Peacock cardstock and ink pad) can be found in my Online Store


Measurements:
  • 5 1/2” x 8 1/2” cardstock for base; 3” square cardstock and scraps for flowers and leaves
  • Cut two @ 1 7/8” x 5 1/4” DSP; 2 3/4” square DSP; 2 1/2” x 6” DSP for envelope flap
  • Cut three 2 1/2” squares of white cardstock to make the slide.
  • 2 1/4” square white cardstock and 4” x 5 1/4” white cardstock for inside
Directions:
  • Score cardstock for base at 2 1/8”. Fold on score line and burnish with bone folder. Fold opposite side in to meet in the middle and burnish with bone folder. This works better than scoring the opposite side.
  • Fold two of the 2 1/2” squares of cardstock in half. Lay them and adhere the squares to the remaining 2 1/2” square with the folds meeting in the center. 
  • On the other side glue the 3” square of cardstock. That forms the mechanism for the slide. If you need more help, just search for  Slide and Lock Cards on Pinterest.
  • Adhere the 2 3/4” square of DSP to the cardstock square on the slide.
  • Stamp sentiment and add stamped images or die cuts to the 2 1/4” white cardstock square. Add embellishments. Adhere to form a diamond shape. 
  • Adhere the 4” x 5 1/4” white panel to the inside of card.
  • Add the slide to the card front panels.
  • Adhere the DSP panel to the envelope flap and trim.
Products (except for Pretty Peacock cardstock and ink pad) can be found in my Online Store
Some products are “currently unavailable” are in process of being in stock again.
Products:
  • Irresistible Blooms Bundle 161150
  • Hello, Irresistible DSP 161139
  • Basic White Cardstock 159276
  • Loose Frosted Dots 161153

Friday, March 17, 2023

March 2023 Card Layout #14

 March 2023 Card Layout #14
Gatefold Latch Card 
SU’s Season of Chic Bundle and By the Bay DSP

I did not purchase SU’s Seaside Bay stamp set, but I loved the By The Bay DSP with its gold and pearl foil!! The sea shell stamp and die from SU’s Season of Chic Bundle makes the perfect latch for this thank you card. 

Products needed to make this card can be found in my Online Store


Measurements:
  • 5 1/2” x 8 1/2” cardstock for the card base
  • Cut two panels of DSP 1 3/4” x 5 1/8”
  • Cut two panels of cardstock 1 7/8” x 5 1/8”
  • 2 1/2” x 6” DSP for the envelope flap
  • White cardstock scraps for label and latch
Directions:
  • Score the card base at 2 1/8” on one side. Fold and burnish with a bone folder.  Fold the opposite to meet in the middle and burnish with a bone folder. This works better than scoring the opposite side and folding to meet in the middle.
  • Adhere the two DSP panels to the two cardstock panels. Adhere these to the panels on the card front.
  • Stamp the shell and die cut it out. This is the latch for the gatefold. Adhere to the right side of the card front with dimensionals leaving the top of the latch free so the label will slide under it to keep the fold closed.
  • Stamp the label with a sentiment.
  • Adhere label to the left side of the card so that it can slide under the latch. 
Products needed to make this card can be found in my Online Store

Products:
  • Season of Chic Bundle 158816
  • By the Bay DSP 160434
  • Night of Navy Cardstock 100867
  • Balmy Blue Cardstock 146982
  • Basic White Cardstock 159276
  • Night of Navy Classic Stampin’ Pad 147110

March 2023 Card Layout #13

 March 2023 Card Layout #13
SU’s True Beauty Bundle and Awash In Beauty DSP

Here’s a fun fold that shows both sides of double sided patterned paper like SU’s Awash In Beauty DSP.

The products need to make this card can be found in my Online Store


Measurements:
  • 5 1/2” x 5 1/2” cardstock for the base
  • 4 x 5 1/4” double sided patterned paper (DSP)
  • Two panels of DSP 1” x 5 1/4”; 2 1/2” x 6” panel for the envelope flap
  • 4” x 5 1/4” for the inside and scraps of white cardstock for label and sentiment
Directions:
  • Score cardstock base at 4 1/4” and burnish with a bone folder.
  • Adhere the large patterned paper panel to the inside of the flap of the card front.
  • Adhere one of the smaller patterned paper panels to the white cardstock panel and adhere the white panel to the side of the card.
  • Adhere the other patterned paper panel to the outside flap of the card front.
  • Add label and sentiment to card front. 
  • Adhere the the remaining patterned paper to the envelope flap and trim.
The products need to make this card can be found in my Online Store

Products:
  • True Beauty Bundle 158984
  • Awash In Beauty DSP 158973
  • Merry Merlot Cardstock 146979
  • Basic White Cardstock 159276
  • Merry Merlot 147112 and Mossy Meadow 147111 Classic Stampin’ Pads

Wednesday, March 15, 2023

March 2023 Card Layout #12

March 2023 Card Layout #12
SU’s True Beauty Bundle and Awash In Beauty DSP

Thank you to Lisa Curcio for the “fun fold pop up and pivot card”. This is my version of this fun fold. Again, so much fun to make this card with the beautiful DSP and cardstock and coordinating inks.
Products needed for this card can be found in my Online Store


Measurements:
  • 4 1/4” x 11” cardstock for card base
  • 4 x 5 1/4” DSP for top layer
  • Any die cut shape
  • 2” x 4” cardstock for pop up mechanism
  • 1” x 2” cardstock for tab
Directions: See Lisa Curcio’s YouTube video.

Products needed for this card can be found in my Online Store

Products:


March 2023 Card Layout #11

 March 2023 Card Layout #11
SU’s True Beauty Bundle and Awash In Beauty DSP

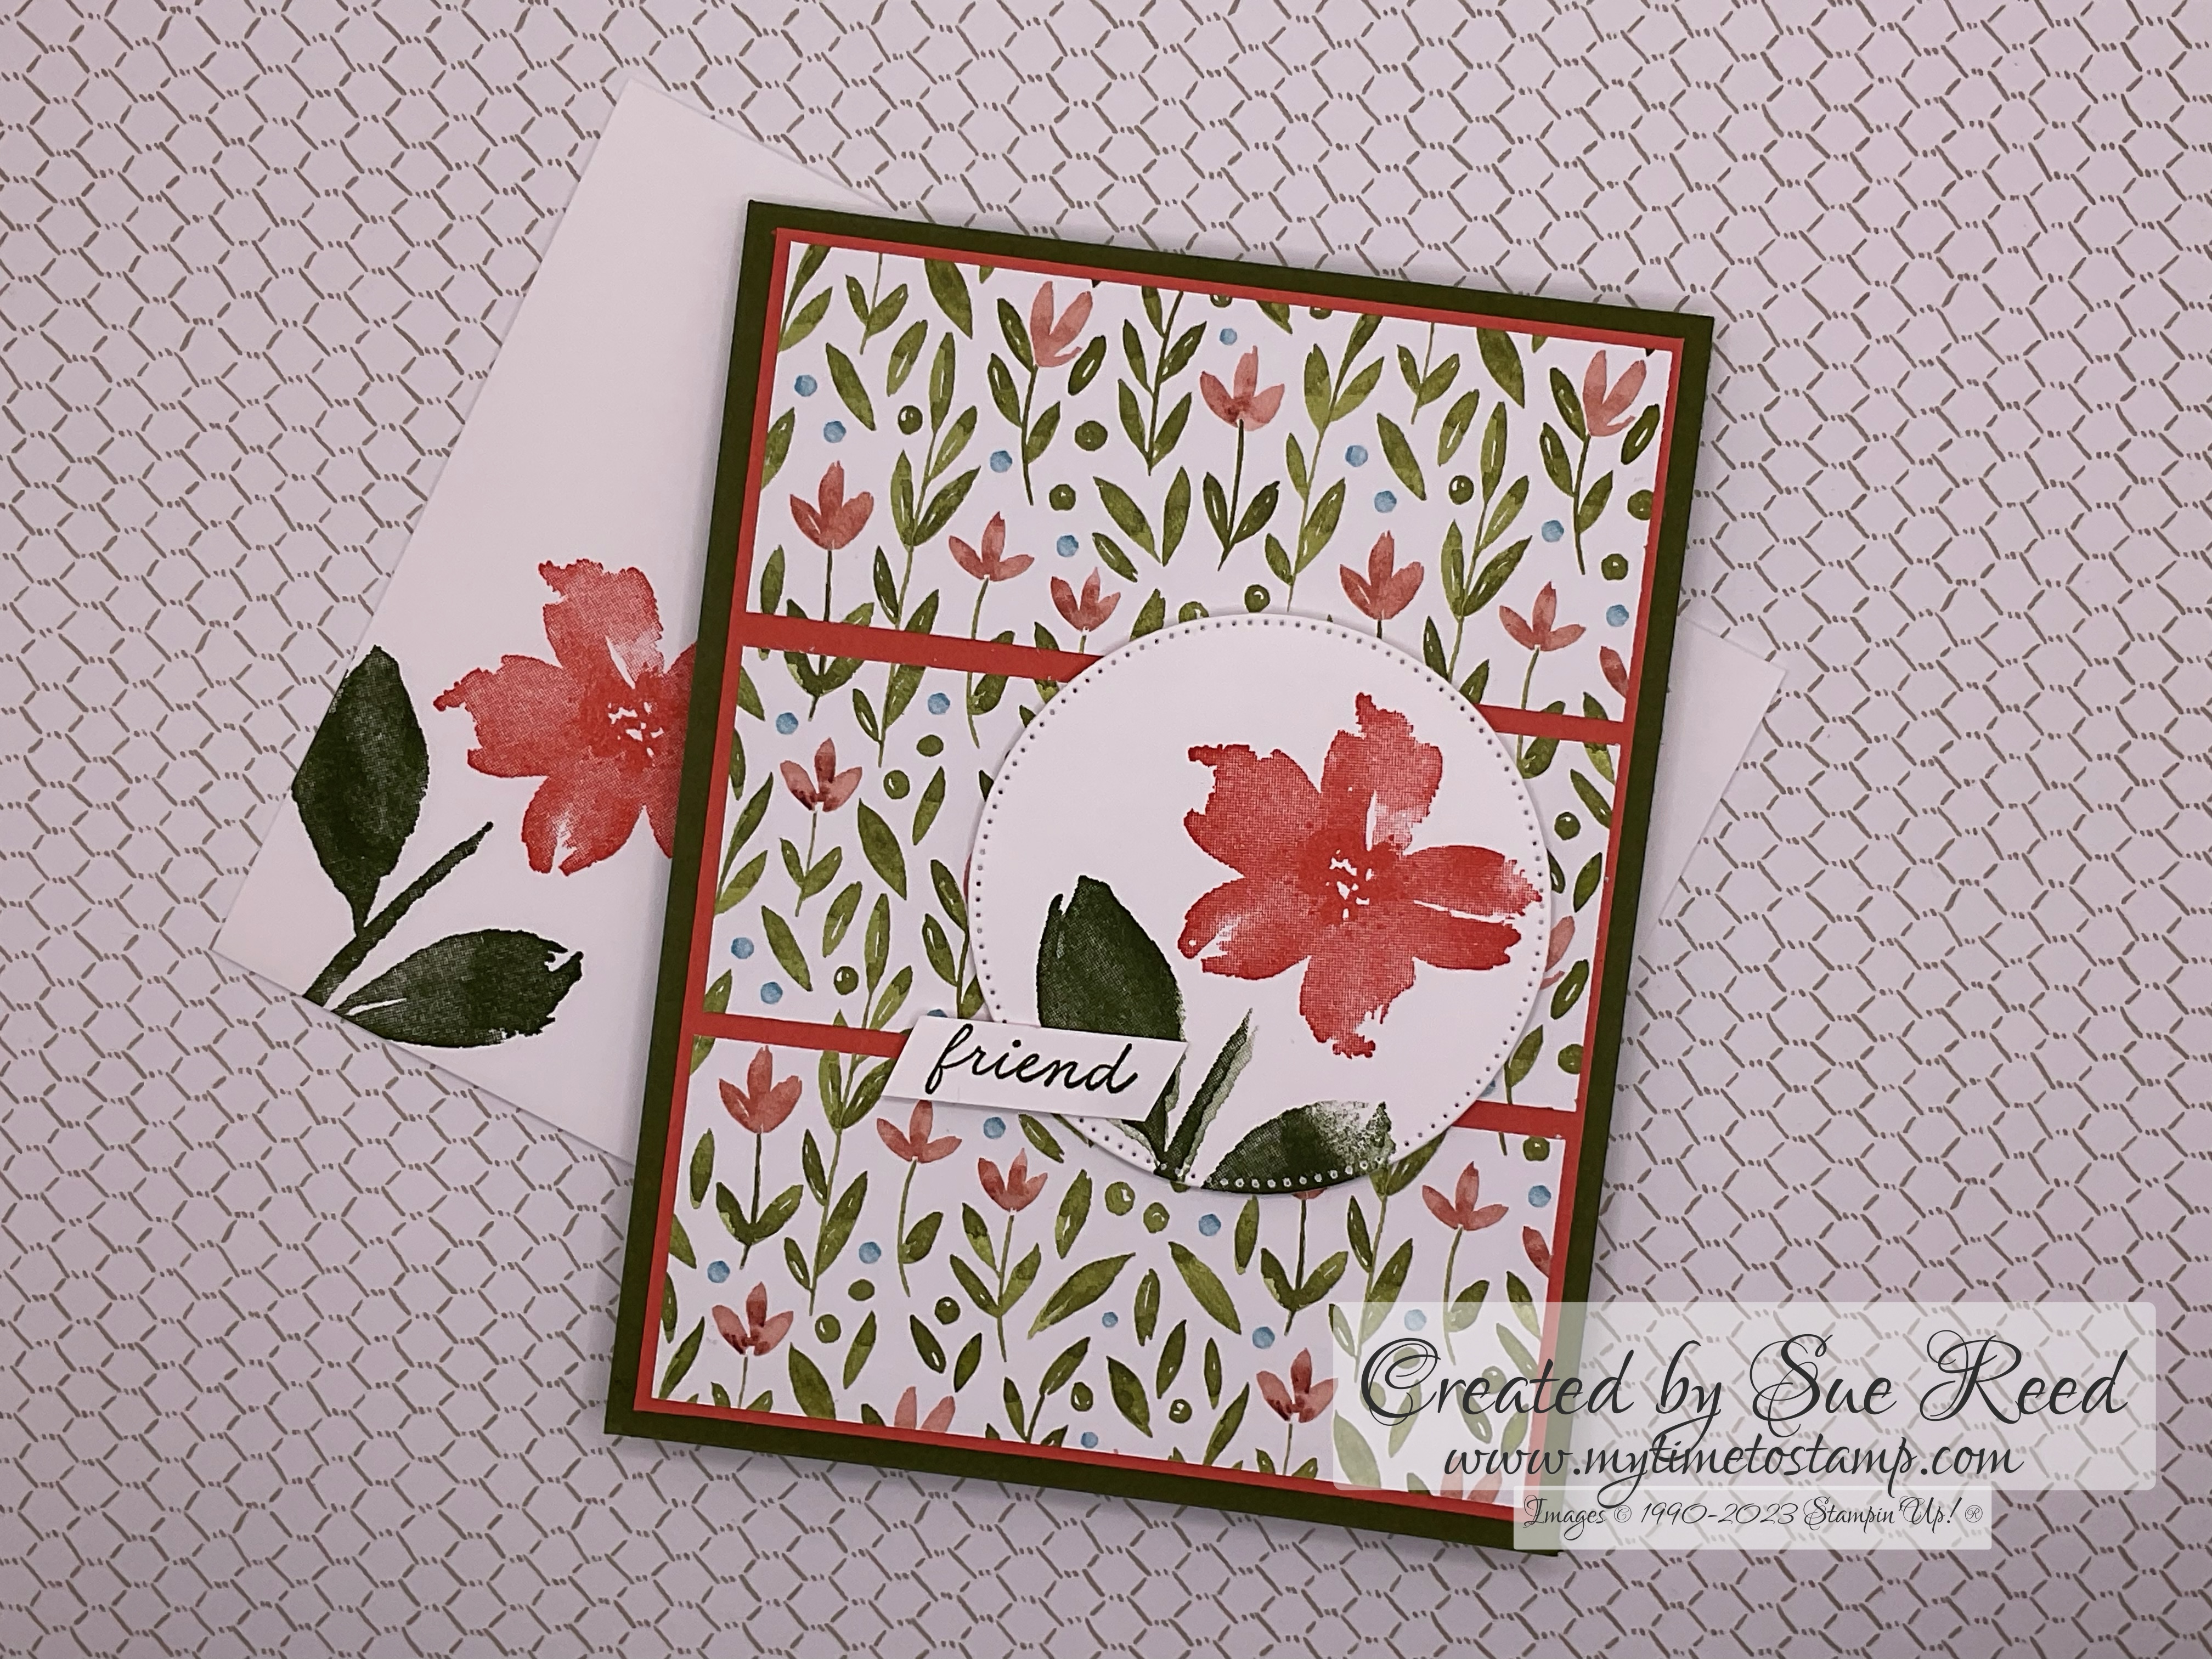
A very simple card layout with some beautiful patterned paper and coordinating cardstock and ink.

Supplies need to make this card can be found on my Online Store


Measurements:
  • 5 1/2” x 8 1/2” OR 4 1/4” x 11” cardstock for the card base
  • 4” x 5 1/4” cardstock panel
  • Cut three pieces of patterned paper (DSP) 1 5/8” x 3 7/8”
  • Add a die, punch or label
Directions:
  • Fold the cardstock in half for the card base.
  • Adhere the three pieces of patterned paper (DSP) to the panel of cardstock
  • Adhere the panel to the card front.
  • Add a label, image, punch
Supplies need to make this card can be found on my Online Store

Products:
  • True Beauty Bundle 158984
  • Awash in Beauty DSP 158973
  • Mossy Meadow Cardstock 133676
  • Calypso Coral Cardstock 122925
  • Basic White Cardstock 159276
  • Mossy Meadow 147111 and Calypso Coral 147101 Classic Stampin’ Ink Pads

May 2023 Card Layout #2

 May 2023 Card Layout #2 SU’s Irresistible Blooms Bundle and Hello, Irresistible DSP Great layout so show off this DSP. I was lucky to have ...